How to Create a New User
This article will walk you through adding a new user into your account, which will automatically send them login details, as well as how to assign that user to individual or multiple locations.
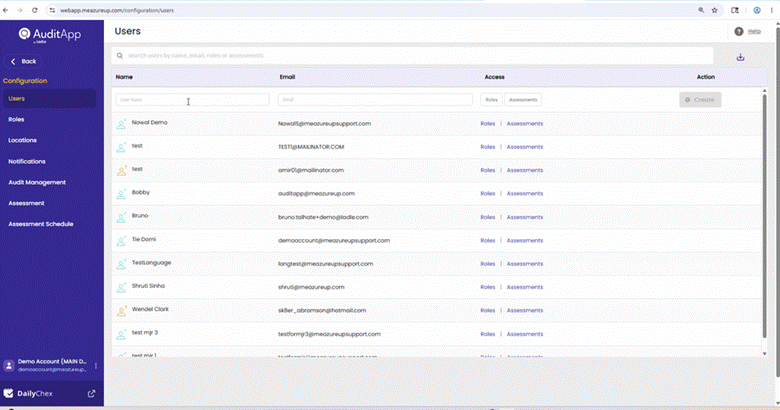
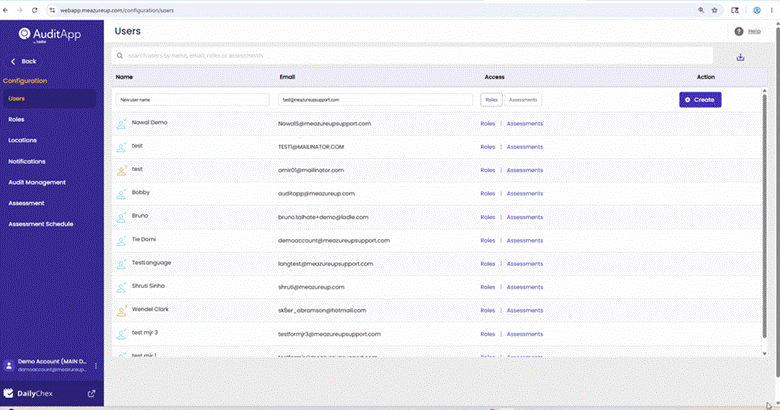
Under Configuration in the left navigation panel, select Users. This will display the names, email addresses, and access settings of all existing users.
To create a new user:
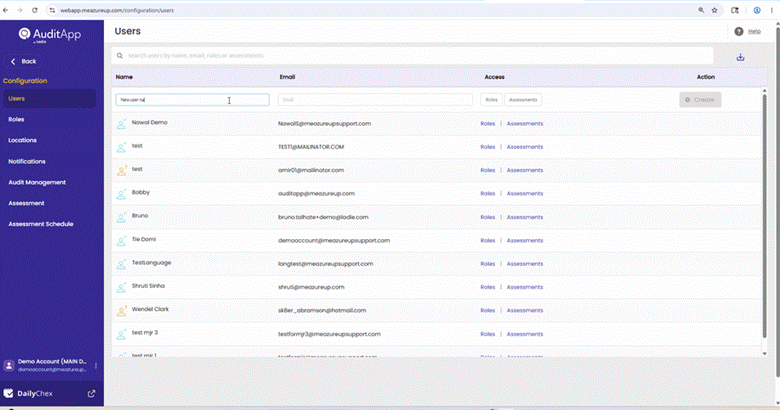
1) Under the Name column, type the user's full name.
2) Under the Email column, type the user's email address. (Ensure there are no spaces before or after the address, as this may cause an error.)
3) Under the Access column, click Roles. A panel will appear with a role dropdown on the left and a location list on the right.
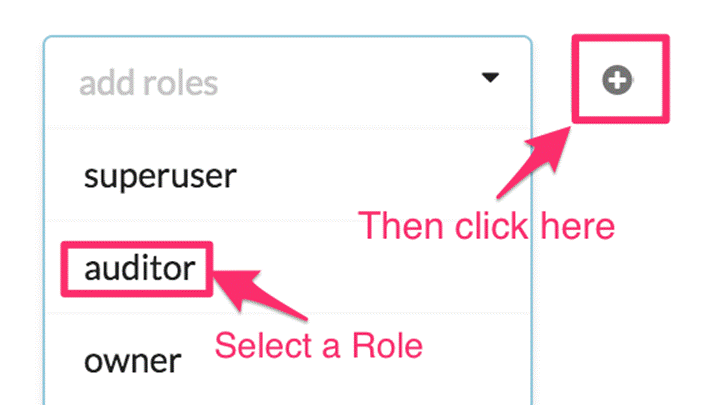
4) From the add roles dropdown, you can see the different role options available. Select the one that best fits the user you are creating. Once you have selected a role, click the Plus icon. This will display a list of all your locations.
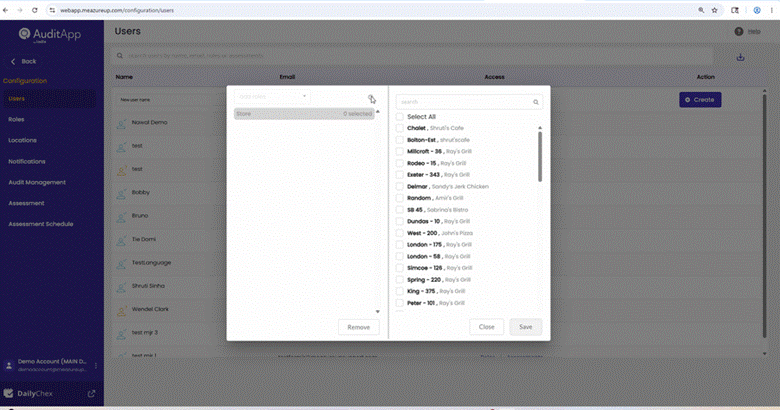
5) Check the box next to each location you want to assign to this user, or click Select All to assign them to every available location. You can use the search field to filter by location name.
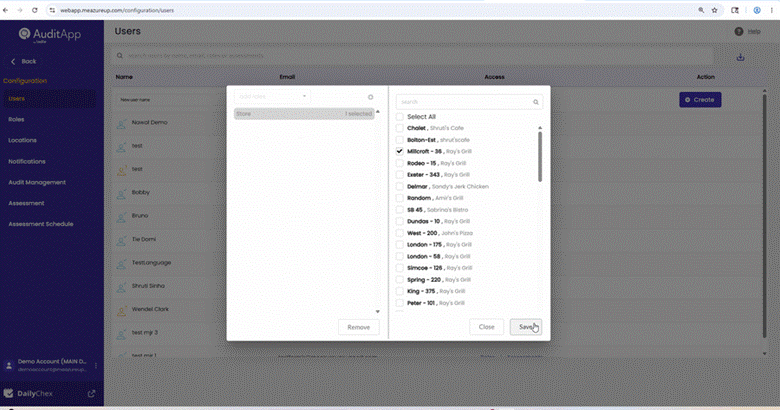
6) Click Save to return to the Users page.
7) Click the Create button in the Action column. The new user will receive an email with their login credentials.
You can track whether a user has logged in for the first time using the colored icons next to their name. An orange icon means they have not yet logged in; a green icon means they have successfully logged in.
Pro Tip: For users who have not yet logged in, or who may have deleted their welcome email, you can resend their login information by clicking the Resend button next to their account. Once a user's icon is green, you can no longer re-send their login information; instead they will need to reset their password.